

Denver 2nd Alarm Warehouse Fire
Second Alarm Warehouse Fire
Rick Luebke Photo ©
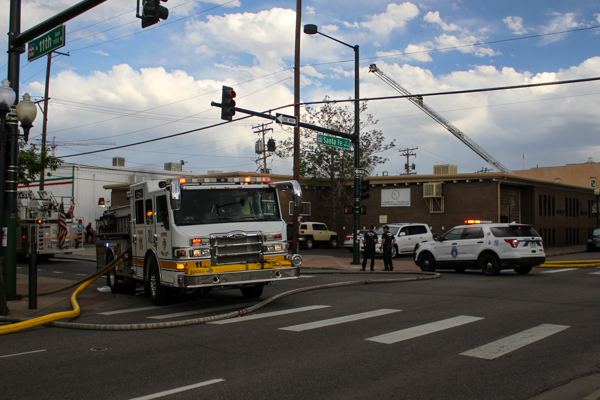
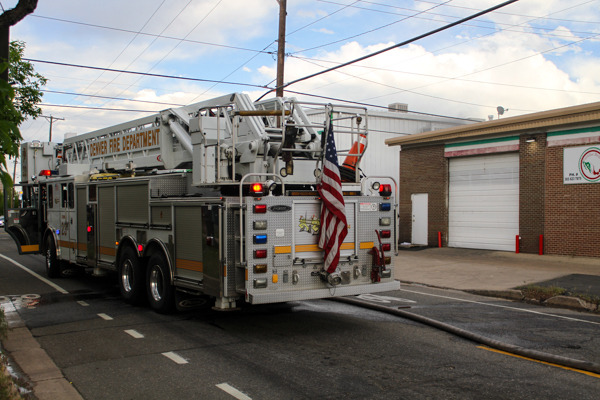
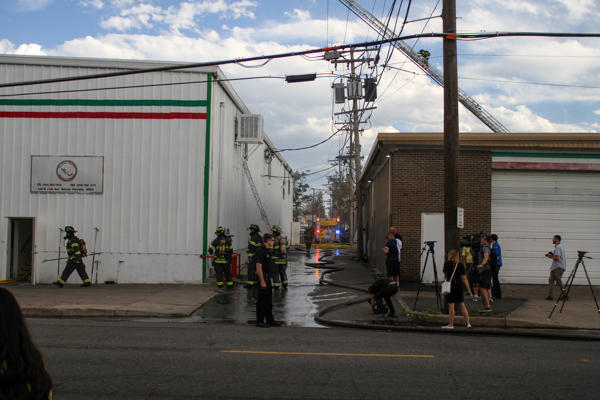
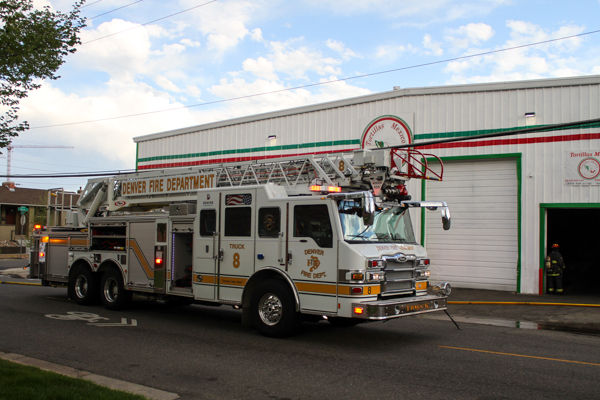
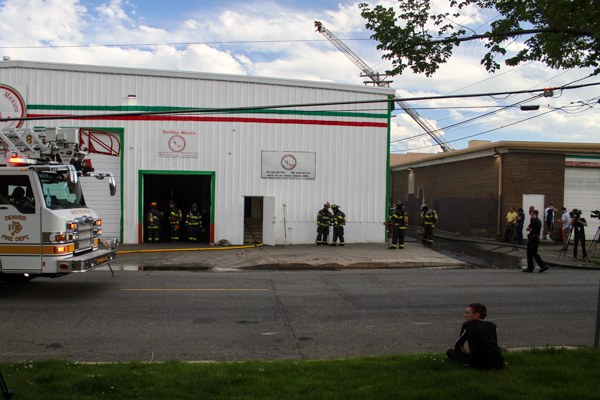
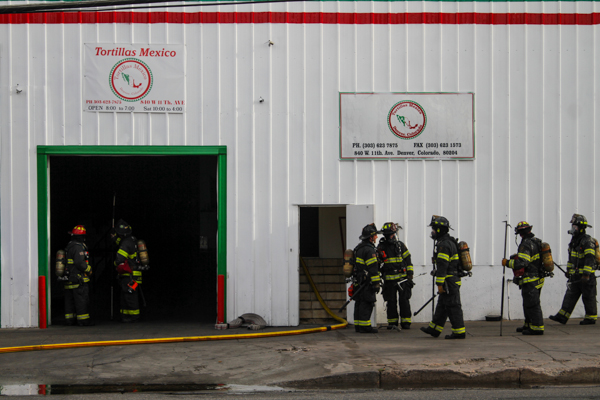
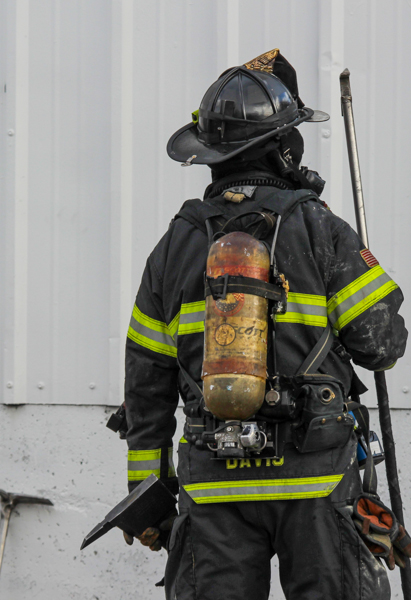
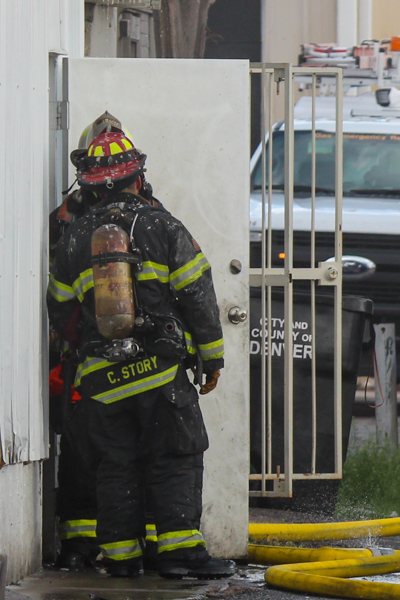
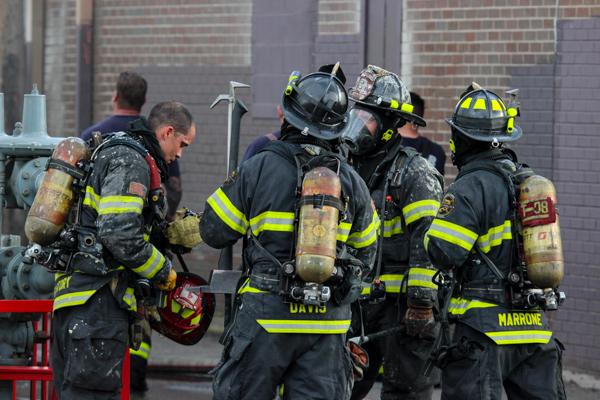
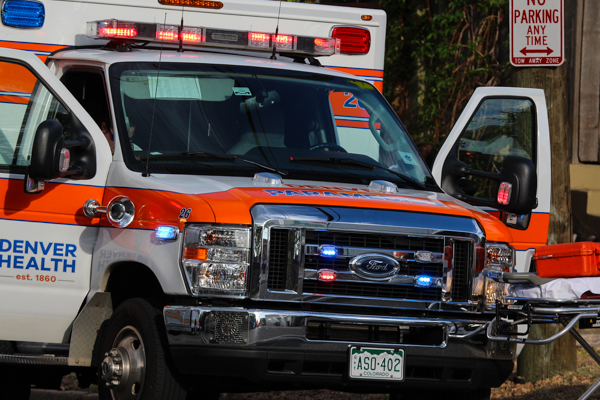
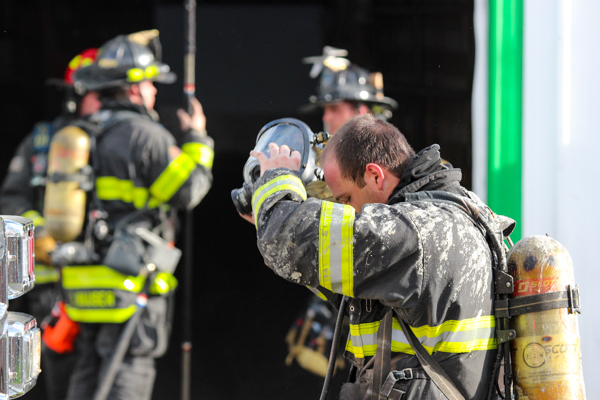
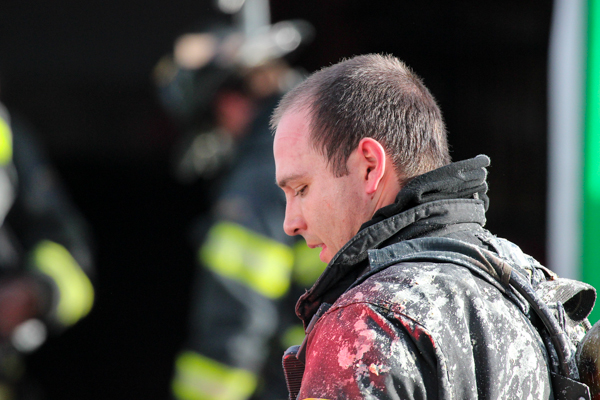
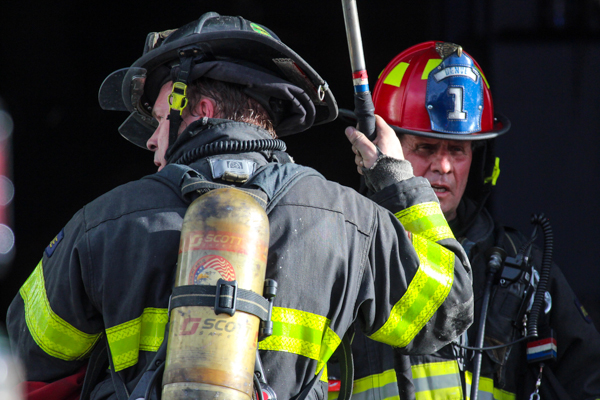
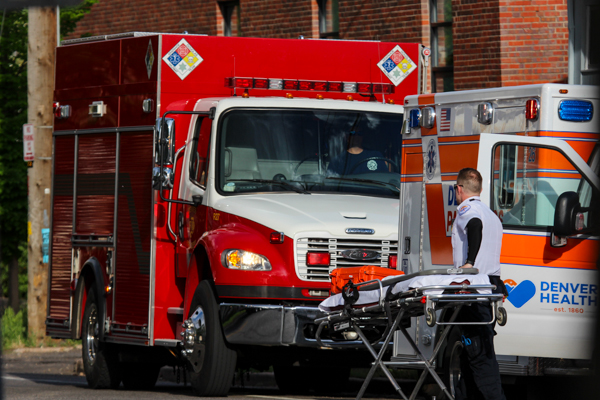
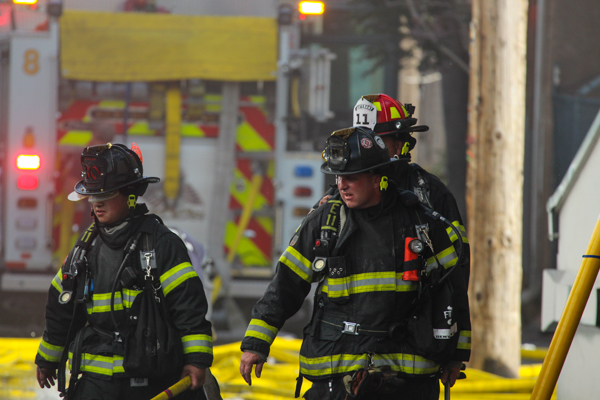
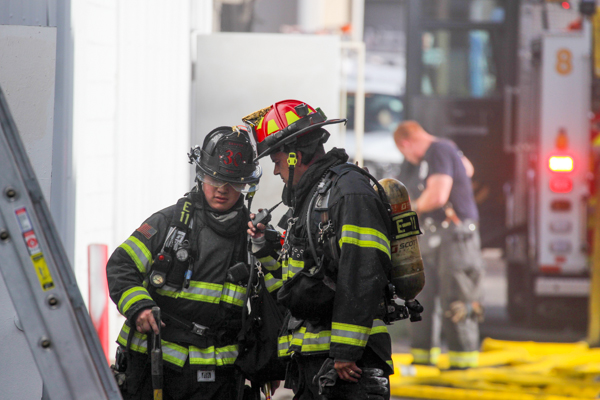
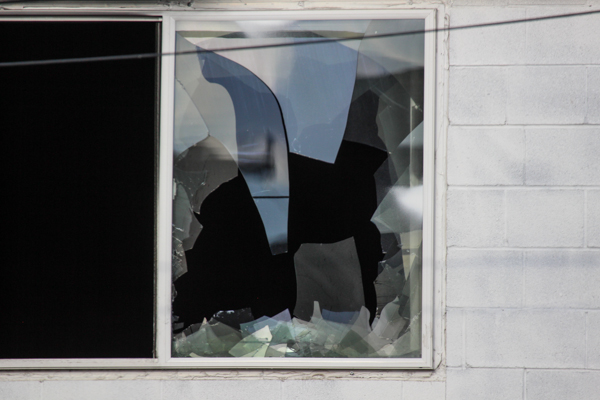
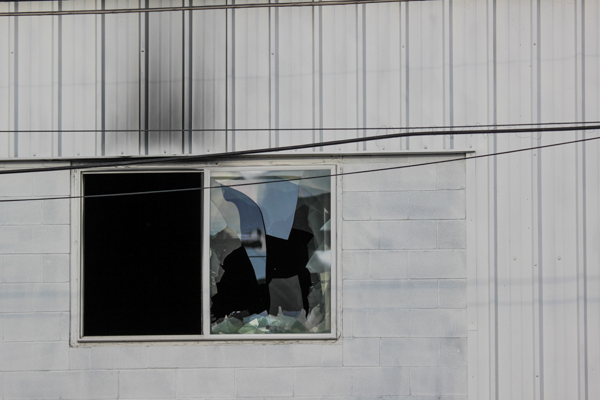
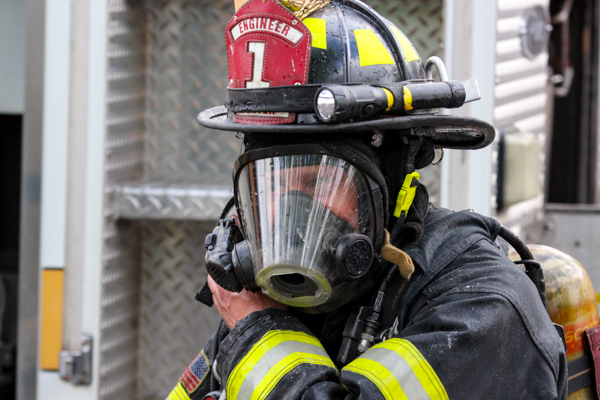
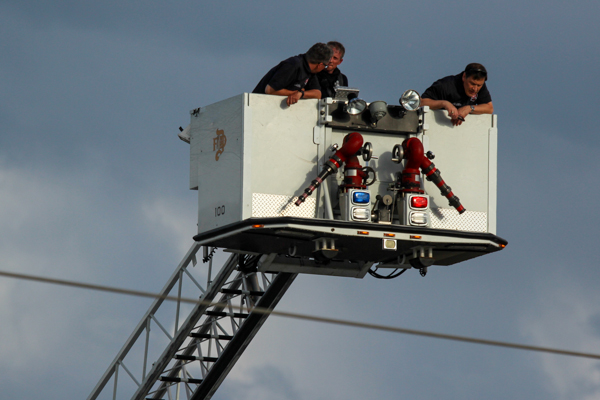
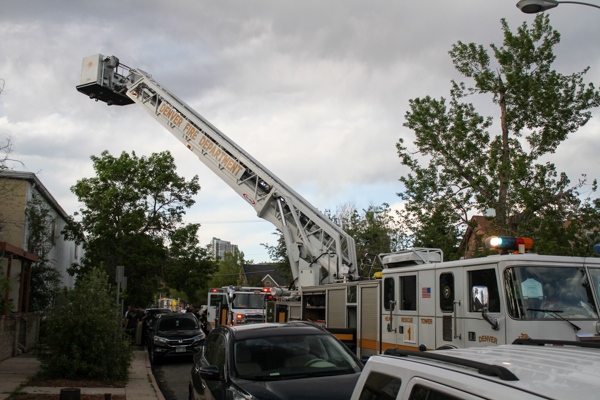
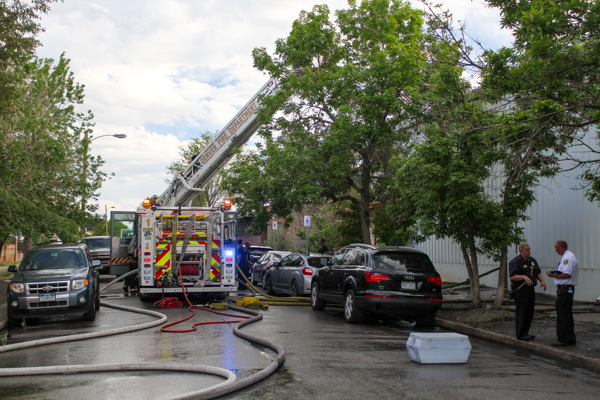
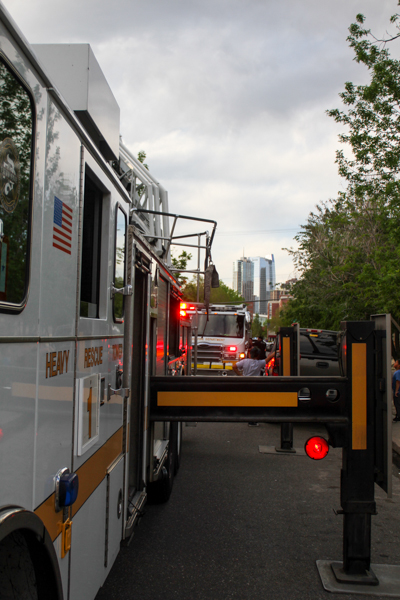
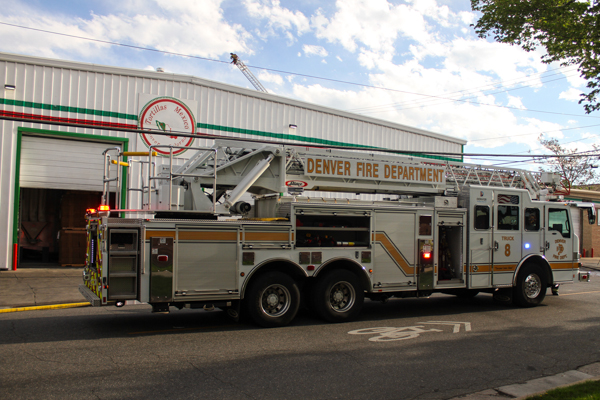
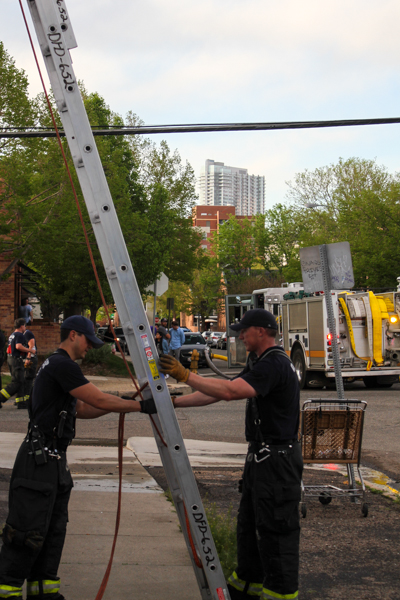
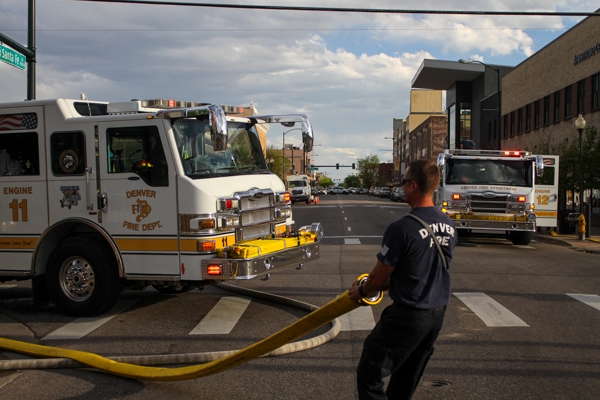
At 17:20 on May 10th, 2018 Denver Fire Department responded to a commercial structure fire at 840 W. 11th Ave with multiple 911 calls. Ops 2 arrived to a large warehouse with black smoke showing and fire showing through the roof. Engine 1 arrived and laid two lines, and started fire attack, Tower 1 arrived and assisted Engine 1 and started search. Engine 20 established a water supply at 10th Ave & Inca St. Engine 8 laid a line on the Charlie side alley with Truck 8. Command request additional man power and a 2nd alarm was called. Chief 2 arrived and assumed command, Truck 8 reported one victim that need medical from Denver Heath. The fire did go defensive due to the roof and a back out was ordered. Crews were able to get a knock on the fire and began overhaul. Fire Investigators preliminary investigation indicated that a malfunction of the boiler caused the fire.
Units on Scene:
1st Alarm: Chief 2, Chief 4, Ops 2, Engine 1, Tower 1, Truck 4(RIT), Engine 20, Engine 8, Truck 8 & Rescue 1
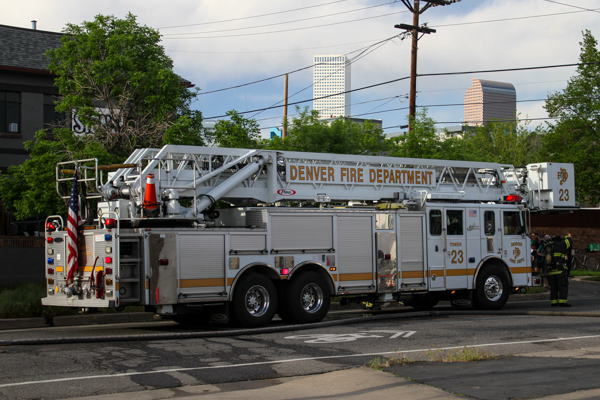
2nd Alarm: Chief 6, Bureau 6, Engine 6, Engine 3, Engine 11, Engine 12, Tower 23
Special Call: Air/Light (Reserve)
Denver Paramedics & Denver Police Department
Rick Luebke Photo ©

Rick Luebke Photo ©

Rick Luebke Photo ©
Rick Luebke Photo ©
Rick Luebke Photo ©
Rick Luebke Photo ©
Rick Luebke Photo ©

Rick Luebke Photo ©
Rick Luebke Photo ©
Rick Luebke Photo ©
Rick Luebke Photo ©
Rick Luebke Photo ©
Rick Luebke Photo ©
Rick Luebke Photo ©
Rick Luebke Photo ©
Rick Luebke Photo ©
Rick Luebke Photo ©
Rick Luebke Photo ©
Rick Luebke Photo ©

Rick Luebke Photo ©
Rick Luebke Photo ©
Rick Luebke Photo ©

Rick Luebke Photo ©
Rick Luebke Photo ©
Rick Luebke Photo ©
Rick Luebke Photo ©
Rick Luebke Photo ©

Rick Luebke Photo ©

Rick Luebke Photo ©
Rick Luebke Photo ©
Rick Luebke Photo ©
Rick Luebke Photo ©

Rick Luebke Photo ©
Rick Luebke Photo ©

Rick Luebke Photo ©
Rick Luebke Photo ©

Rick Luebke Photo ©
Rick Luebke Photo ©
Rick Luebke Photo ©